The front and rear panel view of the Analyzers is represented in the figures below.
|
|
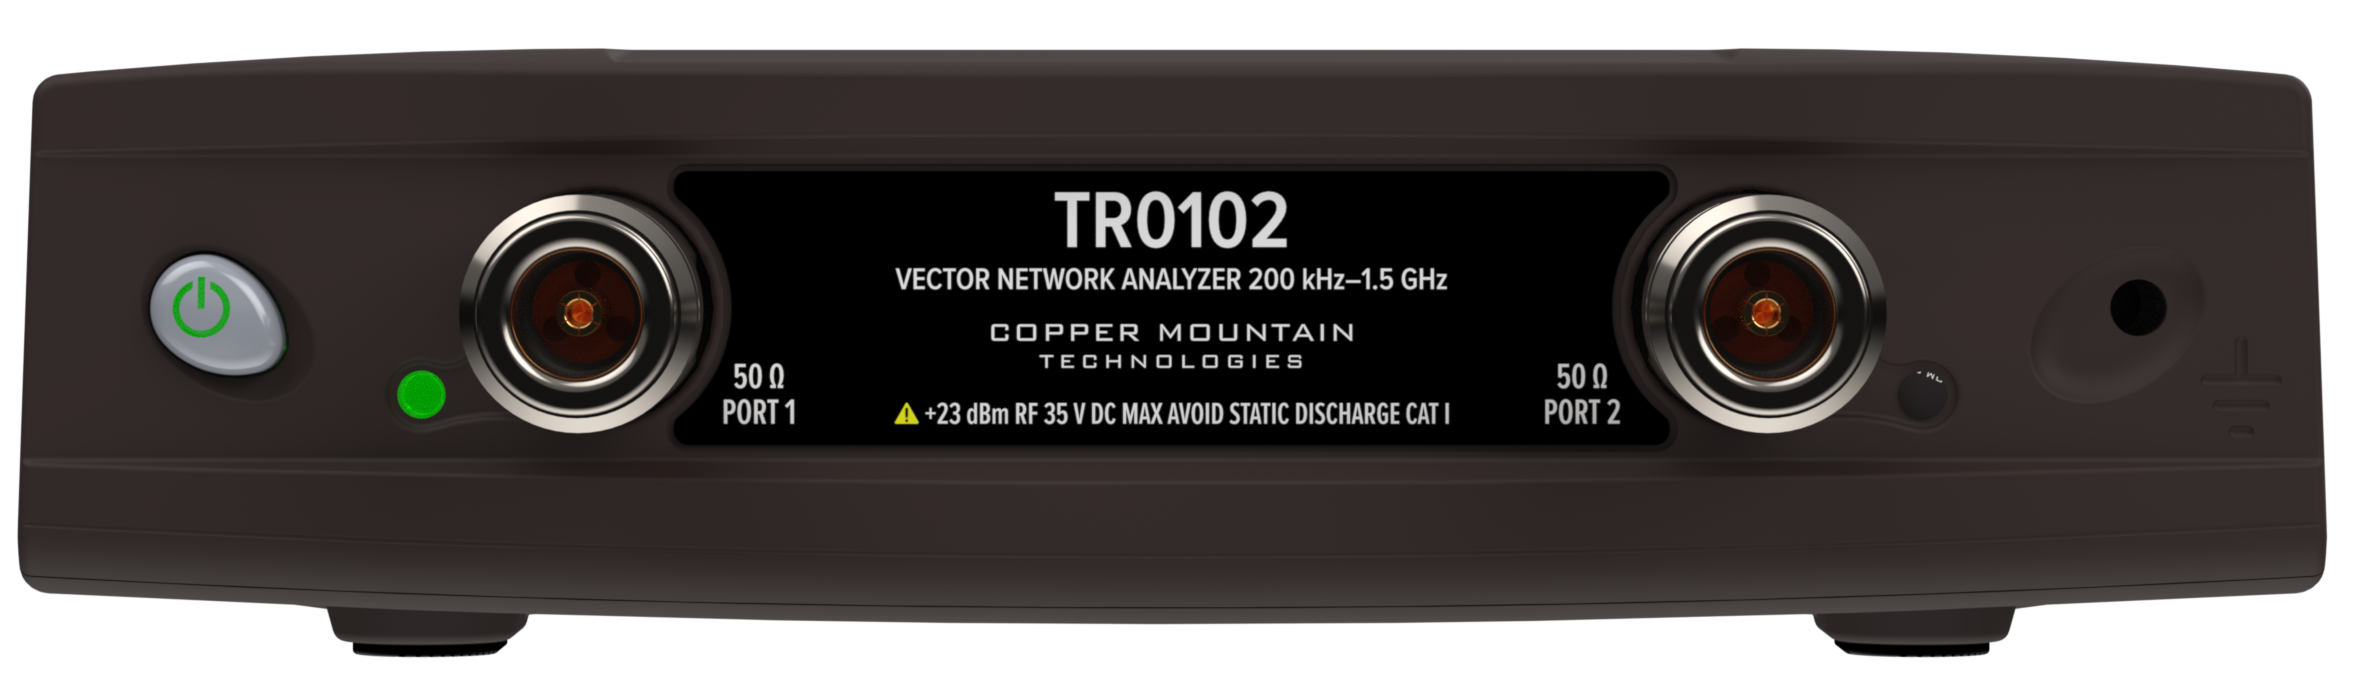
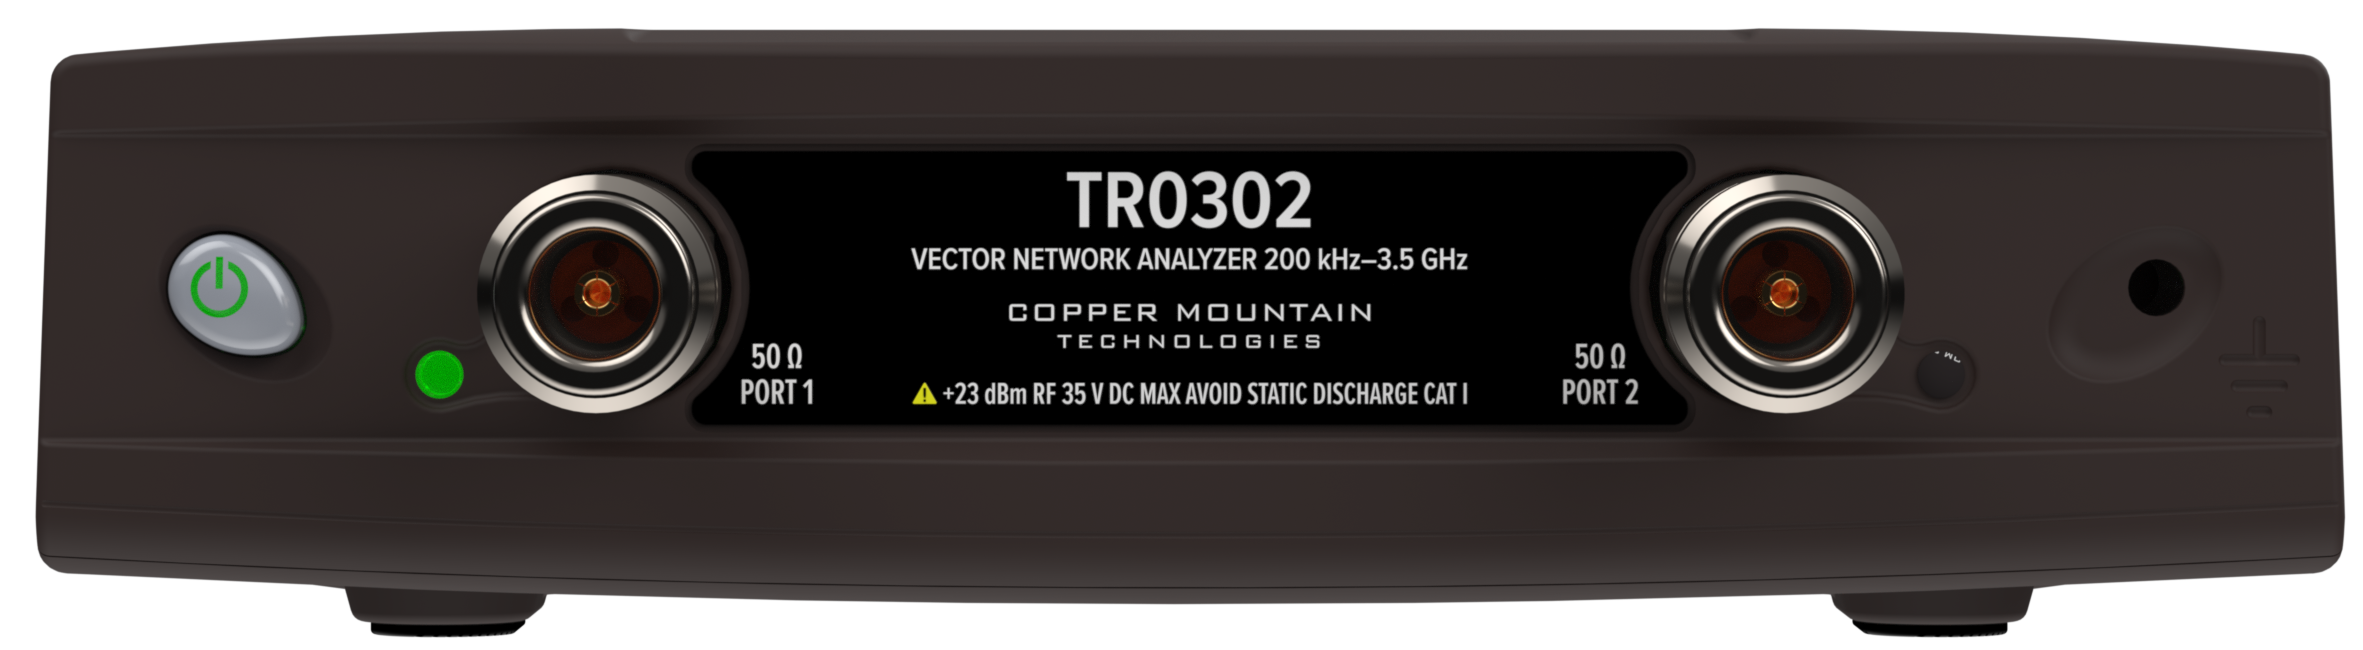
TR0102 and TR0302 Front Panel
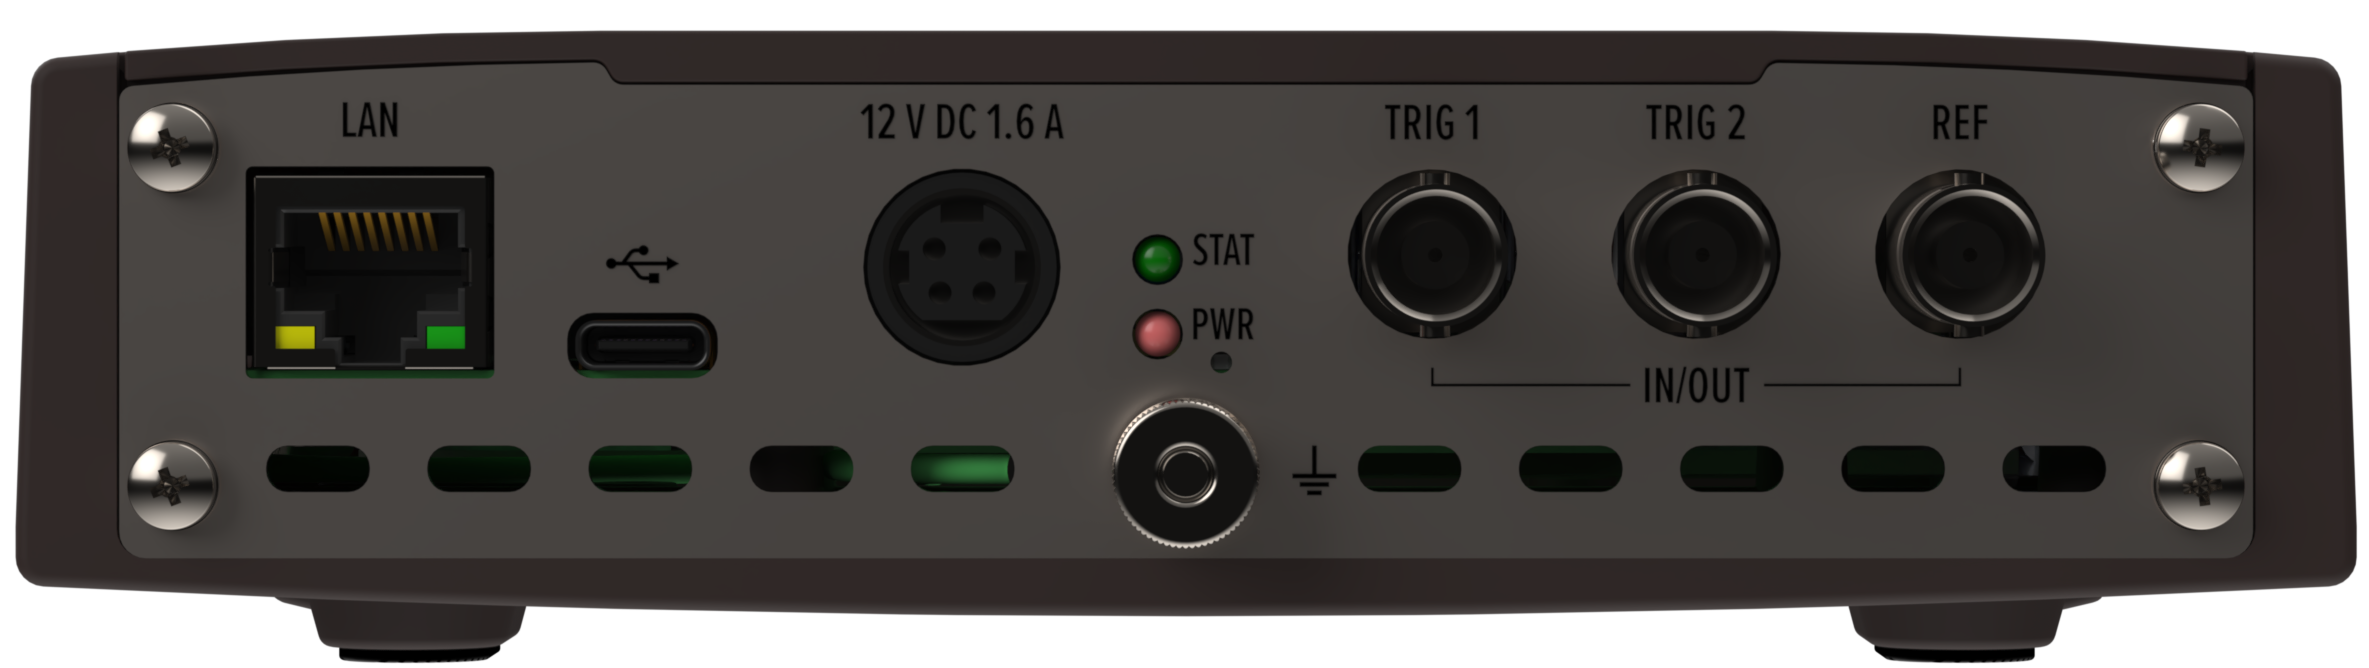
VTR0102 and VTR0302 Rear Panel
Parts of the TR0102 and TR0302
Front panel
Power Button
|
Switches the Analyzer ON and OFF. The Analyzer can be turned ON/OFF at any time. The VNA loads its operating firmware from the PC each time upon powering up. The process will take approximately 10 seconds, after which the Analyzer will be ready for operation. |

note |
The USB driver will be installed onto the PC when the Analyzer is turned ON for the first time. The driver installation procedure is described in Software Installation. Some PCs may require re-installation of the driver in case of change of the USB port. |
Test Ports
note |
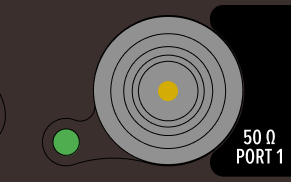
The LED indicator identifies the test port which is operating as a signal source. |
Caution |
Do not exceed the maximum allowed power of the input RF signal (or maximum DC voltage) indicated on the front panel. This may lead to damage of the Analyzer. |
Ground Terminal
|
Use the terminal for grounding. To avoid damage from electric discharge, connect the ground terminal on the body of the Analyzer to a reliable earth ground shared with the DUT in the test environment. Located on both the front and back panels. |

Rear panel
Ethernet Receptacle
|
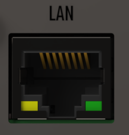
The Ethernet port is intended for connection to a computer or local area network (LAN) for communication and remote control of the VNA. |
Power Cable Receptacle
|
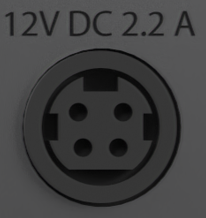
The power supply receptacle is intended for an external DC power supply voltage of 12V, 1.6 A. |
Ground Terminal
|
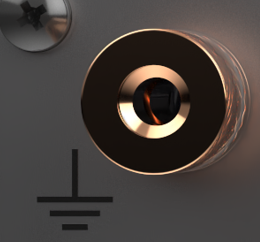
To avoid electric shock, use this terminal for grounding. The Ground terminal allows to directly connect the body of the Analyzer to the test station ground in order to ensure electrical safety. |
Trigger Input/Output
|
External trigger input/output, 0 to 5 V input level range. Connector type BNC female. |

Reference Input/Output
|
External reference frequency is 10 MHz, -3 dBm to 10 dBm. Connector type BNC female. Internal reference frequency is 10 MHz, -3 dBm to 3 dBm. Connector type BNC female. |

USB Port
|
USB type C 2.0. |