This section provides a detailed instructions for assigning classes to standards in a calibration kit.
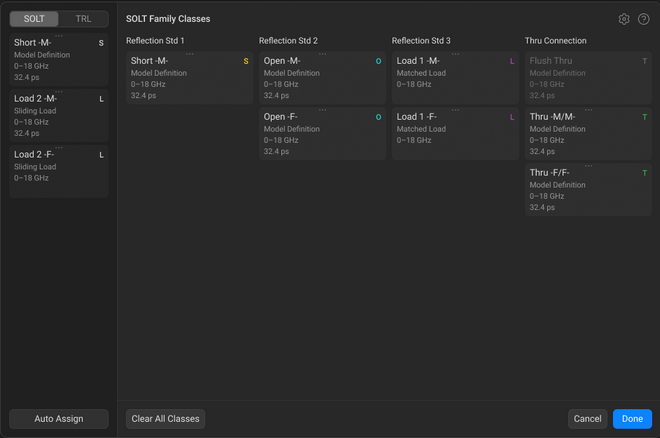
The Classes window contains a list of standards that have been added to the selected calibration kit (see figure below). For a detailed information on how to add standards to a kit, see Standards Management in Calibration Kit. Each standard is marked with a letter that corresponds to its type or class within the selected calibration family. These standards need to be assigned to classes (e.g., Reflection Std 1, Reflection Std 2, etc.) within the Classes Table to form the calibration settings. One calibration standard may belong to single class in one family, with the assignment performed individually for each calibration kit.
SOLT Family Classes Window |
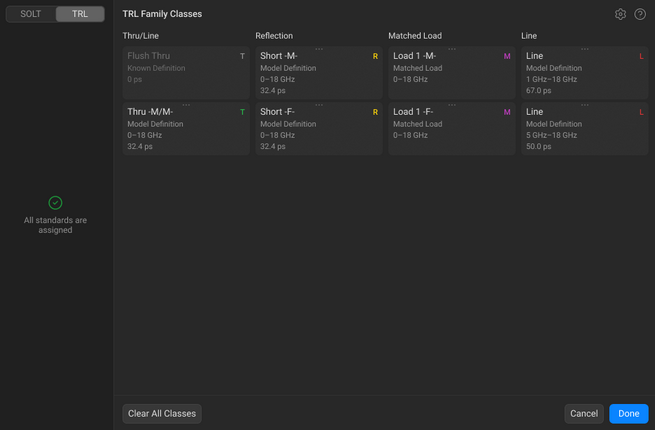
TRL Family Classes Window |
The procedure for assigning classes to calibration standards is described below.
Accessing the Classes Window
|
Select the calibration kit by double-clicking the required row in the Calibration Kits window (see Calibration Kit Management). |
|
Click the Specify Classes button at the bottom of the Standards List in the Standards Window.
|


|
Assigning Classes to Standards
|
Click the SOLT or TRL segment button, depending on the calibration family you wish to configure.
|
|
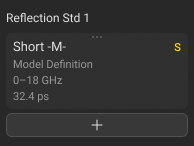
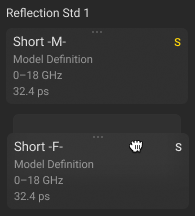
Hover over the column for the desired class, and click the button that appears.
|
|
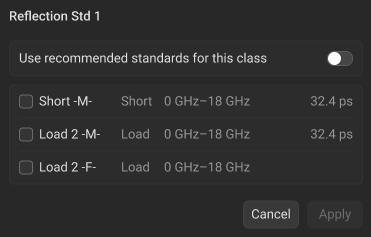
In the dialog window that appears, select the checkboxes for the standards you wish to add to the class.
NOTE To use the recommended standards for the class, toggle Use recommended standards for this class ON. For the list of recommended standards for each family, see the SOLT Family Classes table or the TRL Family Classes table. |
|
Click Apply. |


|
note |
You can also assign a standard to a class by dragging and dropping it into the corresponding column.
|
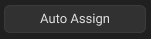
Auto Assigning
This function automatically allocates standards to classes within a calibration kit.
|
Click the Auto Assign button located at the bottom of the Classes window.
|
|
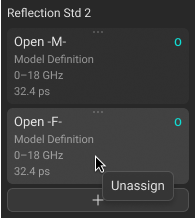
Unassigning Standards From Classes
This function allows you to unassign a standard from a class.
|
Right-click on the required standard in the class column, and then click the Unassign button.
|
|
Configuring standards for SOLT and TRL Calibration
This function allows to adjust specific settings for SOLT and TRL calibration standards.
|
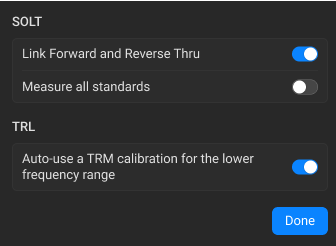
Click the icon in the upper-right corner of the Classes window to open the dialog for configuring standards for SOLT and TRL calibration. |
|
In the dialog that opens, configure the following options as needed: SOLT Settings: Toggle the Link Forward and Reverse Thru ON to link the forward and reverse thru connections during calibration, simplifying the setups if they are identical. Toggle the Measure all standards ON to measure all available standards in the calibration kit. TRL Settings: Toggle the Auto-use a TRM calibration for the lower frequency range ON to automatically apply a TRM calibration for lower frequencies.
|
|
Click Done. |
|
Clearing All Standards from the Standards Class Table
This function resets the class assignment.
|
Click the Clear All Classes button to delete all the standards in the table.
|
|