The section describes in detail how to configure remote control of multiple analyzer programs executed simultaneously on a single PC (provided several USB analyzer hardware units connected to the single PC).
•It is recommended to create a separate folder for each Analyzer with the software. This allows to save individual settings for each Analyzer.
•It is recommended that each copy of the software be linked to a specific hardware unit by its serial number or model (See at the end of this section).
•Assign a unique TCP/IP port number for each copy of the software for the Socket protocol used. For example, if TCP/IP is used, assign port 5025 to the first Analyzer, 5026 to the second, and so on. When assigning a port number, the user must ensure that the port number is not in use by other programs.
•Use the Analyzer's address in the user program with the mandatory indication of the TCP/IP port number assigned to the Analyzer, as in the examples given.
Examples of the VISA address for the Socket protocols with the indication of the TCP/IP port
Socket |
TCPIP0::192.168.0.1::5025::SOCKET TCPIP0::192.168.0.1::5026::SOCKET |
Examples of the TCP/IP address of the Analyzer's Socket server with the indication of the port
Socket |
192.168.0.1:5025 192.168.0.1:5026 |
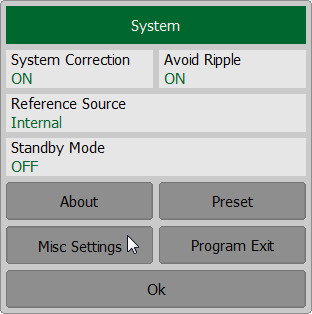
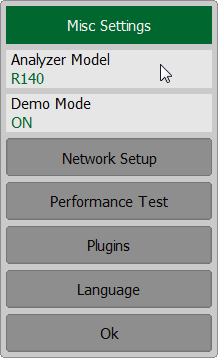
To link the Analyzer program to the analyzer model, press the System > Misc Settings > Analyzer Model softkeys. To link the RVNA software to the Analyzer serial number, press the System > Misc Settings > Analyzer Model > Analyzer Serial softkeys. The RNVNA software links to the Analyzer serial number, press the Devices softkey.
|


